
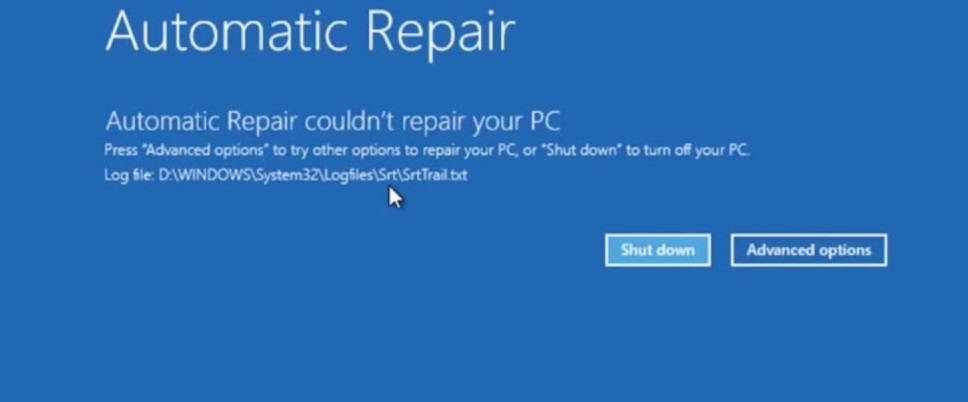
These instructions are for if you are stuck at a repair windows screen but windows will not repair itself using the inbuilt menus
You will need a 8gb or larger USB key & another Windows PC/laptop available to create the media key on.
This article was written for windows 10 but the process is the same for Windows 11
Just get the Windows 11 installation media from here
https://www.microsoft.com/en-gb/software-download/windows11
Rather than using the Windows 10 media
So if you are having problems with Windows starting or are getting stuck at an Automatic Repairing Windows screen, please continue below
You will need to create a Windows USB Drive
You will need a clean USB thumb/pen drive 8gb or larger.
Any data already on the USB drive will be lost
Download Windows 10 USB media creation tool]
http://go.microsoft.com/fwlink
Or for Windows 11
https://www.microsoft.com/en-gb/software-download/windows11
Download the media creation tool on another Windows PC/laptop, insert the USB key and follow the instructions below
1. Open up the Media Creation Tool you just downloaded and click run.
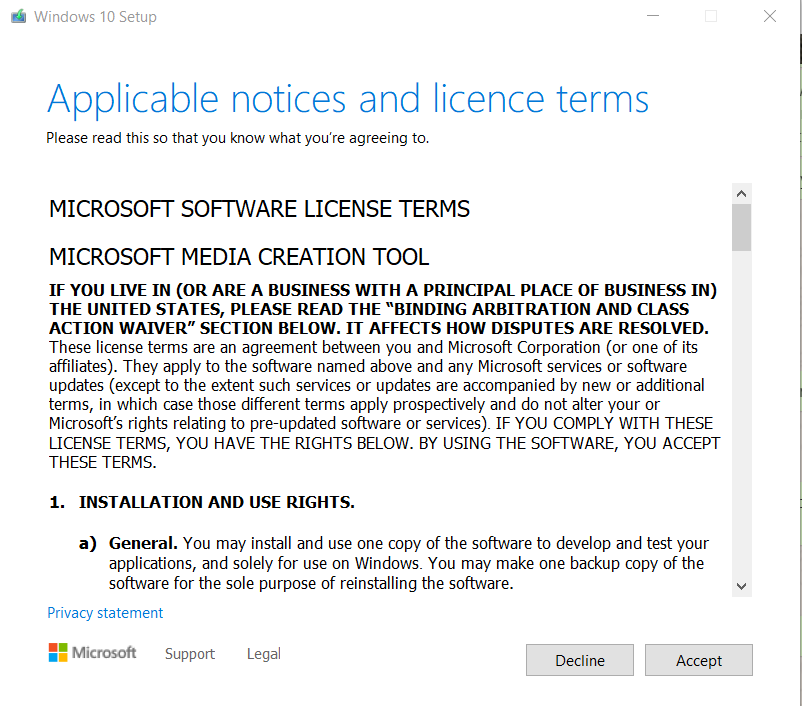
2. Click Accept the license terms.
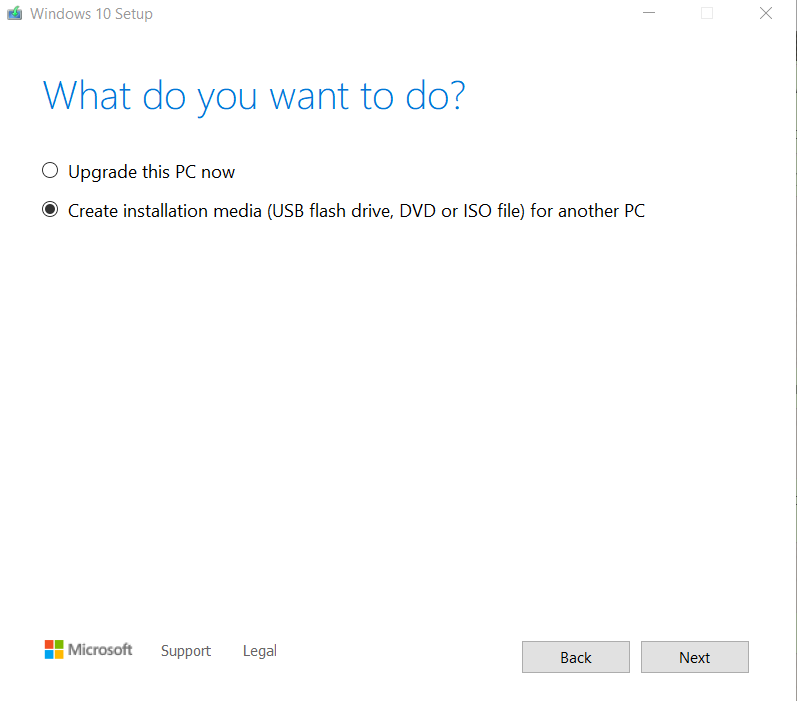
3. Select 'Create installation media for another PC' and click next.
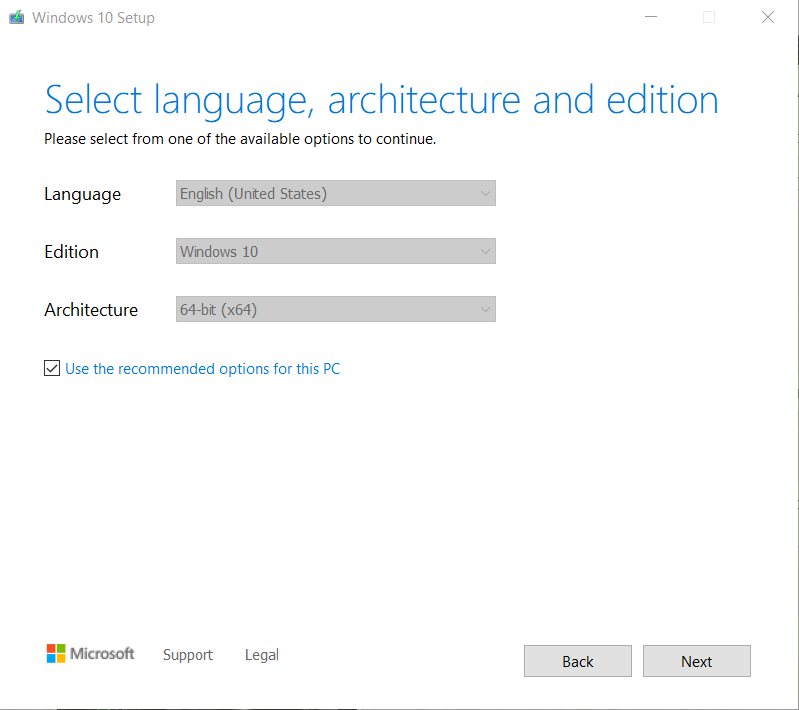
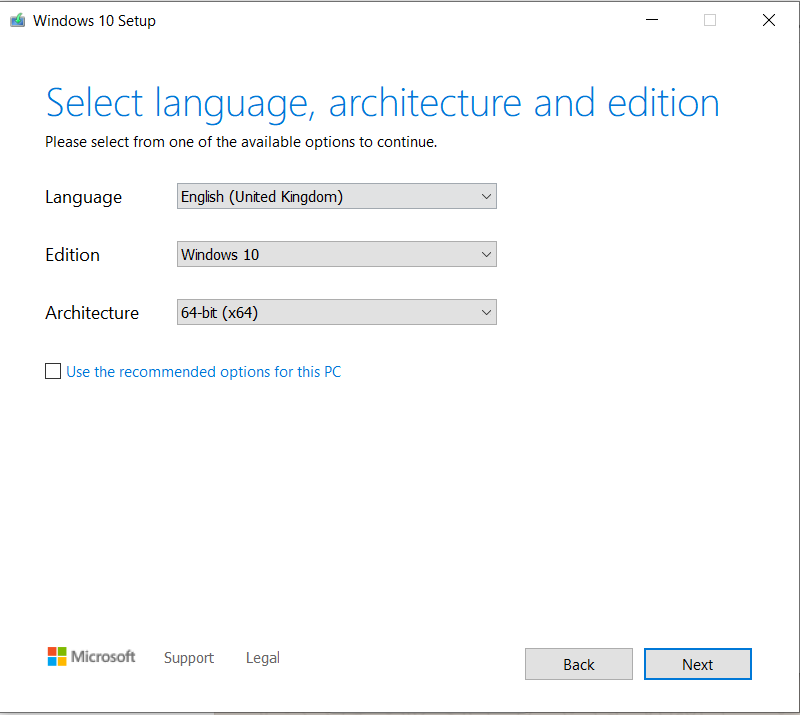
4. Either 'Use the recommended options for this PC'
OR Select your Language, Edition: 'Windows 64-bit and click next
5. Select 'USB' Flash Drive.
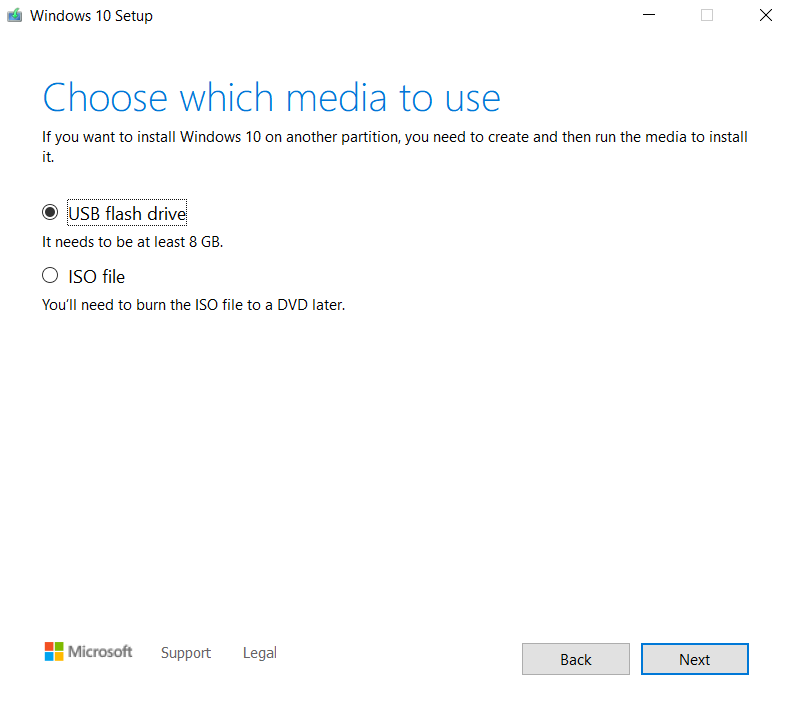
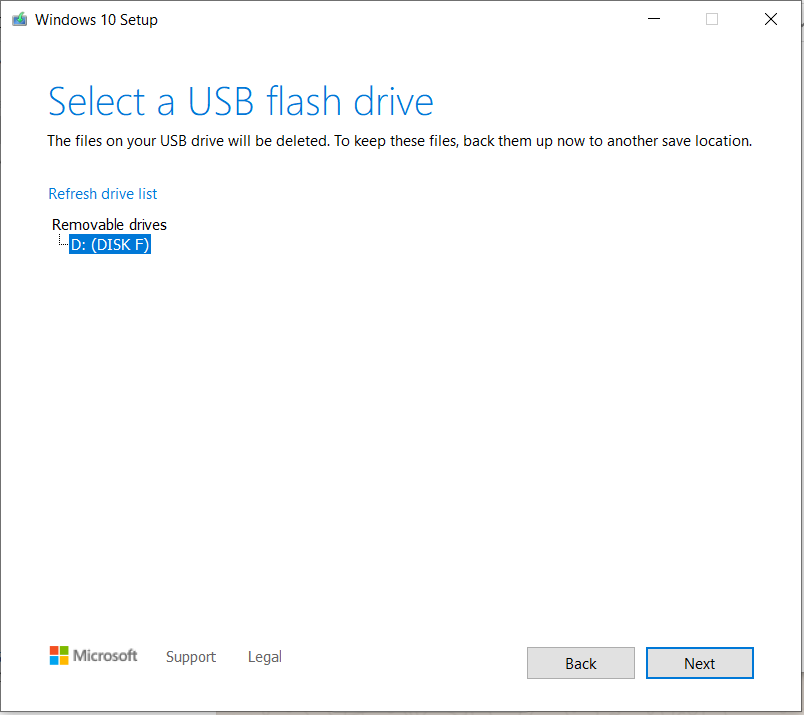
Wait for the file to download and have the USB inserted in the computer.
(Warning! This will destroy/wipe all data existing on the USB device!)
Wait for the process to finish then put the USB memory stick in one of the rear USB ports on the gaming PC.
On the PC
Insert the USB drive then repeatedly press the F11 or F12 key to access the boot menu.
Select the USB Drive you just created
1. Wait for a short time for the following screen to display
2. Once Windows Setup loads, you will see the Windows Setup window...
Choose your Windows Setup options / Select your Regional Settings
(preferred language, keyboard type, and time/currency format), then click Next.

3.Clickthe 'Repair your computer' option at the bottom

Access Command Prompt
Put the USB Memory stick in one of the rear USB ports
Boot from USB media
Choose Repair Your Computer after the initial setup window
Click Troubleshoot
Click Advanced Options
Click Command Prompt
You will now be looking at a black screen where you can type commands
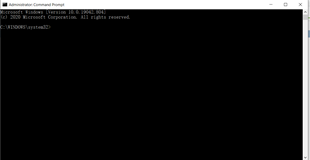
Try the steps below in turn.
After each step remove the USB drive and allow the PC to try to start normally
However If the step fails to fix the computer, restart and boot from the USB media again.
Then try the next step.
Checkdisk
Type
Chkdsk c: /f/r/x
Press enter
This command will take some time to complete
Restart the computer when finished
SFC
Type SFC /Scannow
This will attempt to repair any corrupt/damaged windows files
If the scan finishes without any errors or finds errors & fixes them, reboot the computer as normal.
DISM
Type DISM /Online /Cleanup-Image /RestoreHealth
This will fix any corrupt files but also download any missing files it needs
Once complete run SFC /Scannow again
Turn off Automatic Startup Repair
Type
bcdedit /set {current} recoveryenabled No
Press enter
Fix Boot and Rebuild BCD
- Type bootrec.exe /rebuildbcd and press Enter.
- Type bootrec.exe /fixmbr and press Enter.
- Type bootrec.exe /fixboot and press Enter.
- Type exit and press Enter
- Restart your PC.
Delete Problem file
Type c:
Type cd /
Type c:\windows\system32\logfiles\srt\srttrail.txt
Type a text file will open up
look for a line which says something like this 'Boot critical file c:\windows\system32\drivers\vsock.sys is corrupt'
Make a note of the filename which I've highlighted in red in this case vsock.sys (but the filename will be different for you)
Navigate to the folder where the file is located
So
Type cd /
Type c:\windows\system32\drivers
Type Del vsock.sys (in this example)
Reboot your computer
If you still cannot boot into Windows we will have to reinstall a fresh copy of Windows 10 using the USB Media
https://www.support.drmem.com/hc/en-gb/articles/360018053558-Install-Reset-Windows-from-USB-media-1
If the repair steps do not work you will need to use the same USB to reinstall windows from fresh
No need to recreate the media key the key you made earlier will still be used
On the Gaming PC
Insert the USB drive then repeatedly press the F11 or F12 key to access the boot menu.
Select the USB Drive you previously created
1. Wait for a short time for the following screen to display
2. Once Windows Setup loads, you will see the Windows Setup window...
Choose your Windows Setup options / Select your Regional Settings
(preferred language, keyboard type, and time/currency format), then click Next.
3.Click the 'Install' Now button.
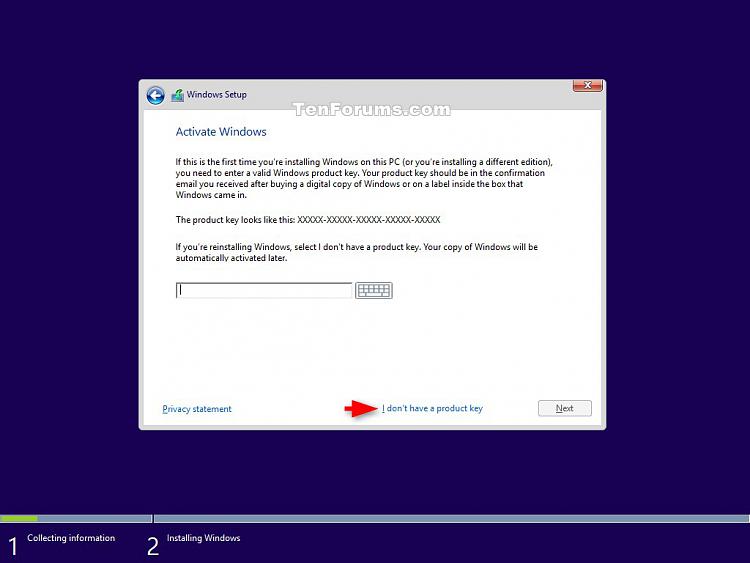
Windows 10 on your PC was registered automatically by us and will re activate once your PC is back online so you can skip entering the key
4. So select 'I don't have a product key'
5.Accept the License Terms. Read over the Microsoft Software License Terms,
check 'I accept the license terms', and click Next.


6.Select the Custominstallation.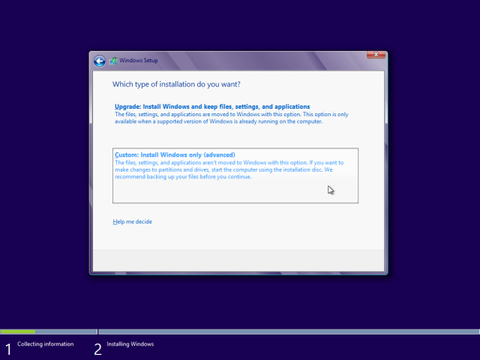
7. Decide which hard drive and partition you want to install Windows on
In nearly all cases on our gaming PC's this will be Drive 0 partition 1, this is usually the SSD drive
However if you are unsure take a picture and send it to us and we can check for you.

8. Install Windows on your preferred hard drive / partition.
Select the preferred hard drive/partition and click Next.
Windows should begin installing.
9 If the installation says it cannot install on this partition
Select the partition and click the Delete option underneath
Say Yes at the warning prompt
When delete completes, select the unallocated space where partition was and choose to install windows there.
Windows should begin installing.
10. Before you can start using Windows, there are some personalization, location, browser, protection, connectivity and error reporting settings that you can adjust.
You can zip through this by clicking the Express settings (which basically turn everything on),
OR
you can click ‘Customize settings’ to customize them.

11. Specify who's the owner of the device.
(You can choose to sign in with your company ID, which will give you access to your company's resources.)

13. Microsoft really wants you to sign in to Windows 10 with your Microsoft account. If you use Microsoft services like Office, Outlook.com, OneDrive, Skype, or Xbox, it makes sense to sign in with your Microsoft account as it ties them all up and makes your Windows experience more personal.

14. After installation has completed, remove the Windows Install Media and click Finish/Restart.
(When you restart your computer, it should run your new Windows Operating System!)
After you have successfully installed windows please run windows updates and install the latest drivers for your Graphics Card
Comments
0 comments
Please sign in to leave a comment.